
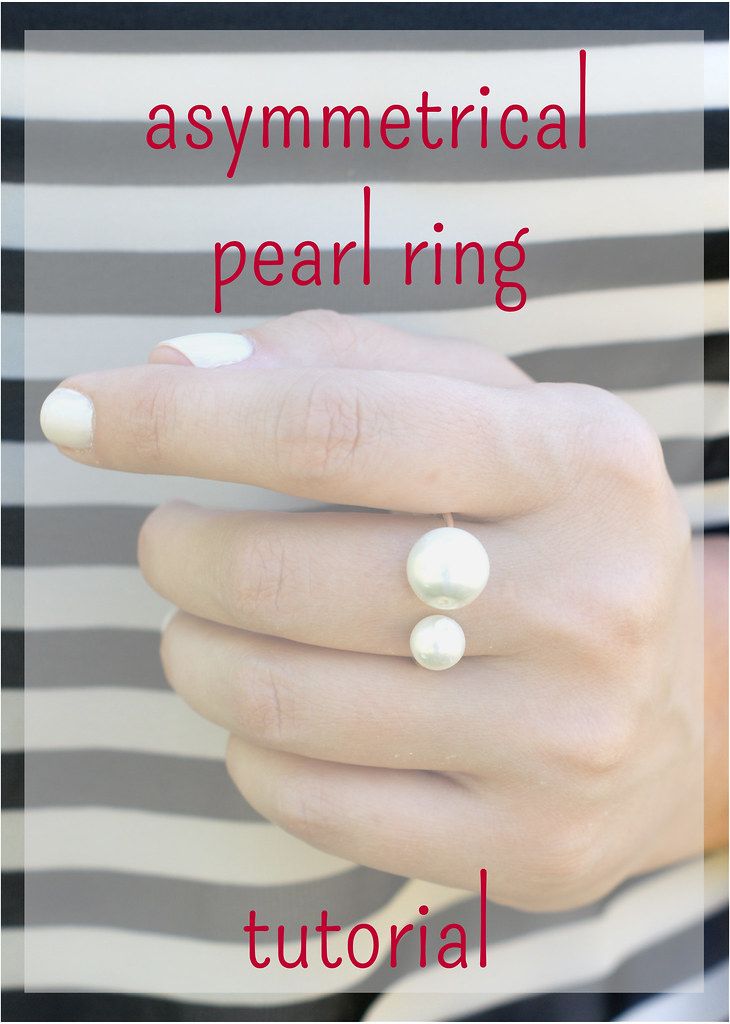
 I saw this picture on instagram a few months ago, and saved it to my camera roll so I could recreate it once I had more time on my hands. I picked up the materials last week, and have loved the results - I even made a few for my mom and sisters! This is super easy, and doesn't even really require a full tutorial, but we snapped a few pictures while we were making them while I was home last week, so hopefully you can make a few of your own!
the materials:
- 16 gauge wire [I used this kind]
- pearls (I bought the $0.99 ones at the craft store in 2 different sizes)
- super glue
- wire cutter
Step 1: Cut a piece of wire large enough to fit around your finger - it doesn't have to be exact since one side will be cut.
Step 2: Bend the wire into somewhat of a circle. Because the wire is obviously bendable, the rings will also form to your fingers, so they will bend some, but also fit your finger better.
Step 3: Make sure it fits your finger! You'll want it to be slightly loose.
Step 4: Add super glue to one side of a pearl.
Step 5: Place the pearl onto the wire, and hold until dry.
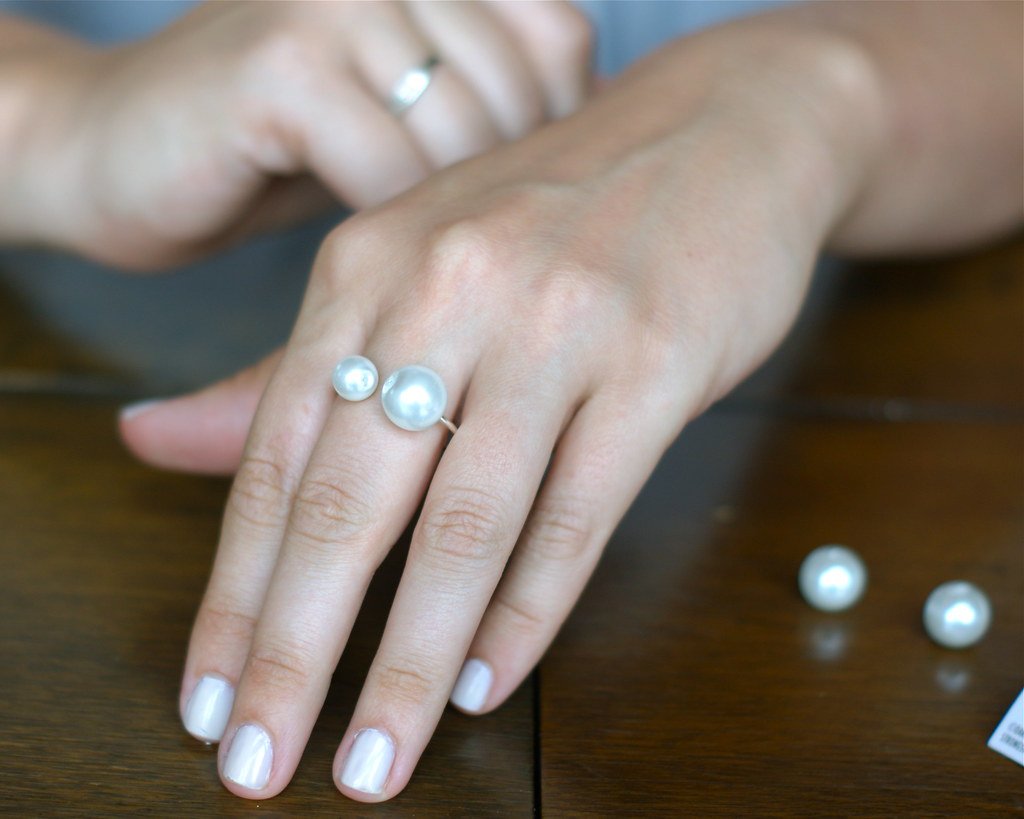
Step 6: Test how the ring fits, and determine where you want to make a cut. You'll want to leave a little space in between the wire and the larger pearl.
Step 7: Cut the wire, and then repeat the super glue/add bead step.
Step 8: Admire your work! I ended up putting little dabs of white nail polish (I used this Essie polish which I'm also wearing on my fingers) on the other side of the pearl so the hole wouldn't show through, but that step is completely optional. You can always buy pearls with only 1 hole in them, but my craft store did not have those in stock.
Let me know if you make a ring of your own! I would love to see it on instagram, twitter, or facebook!